The Canberra Bookbinders' Guild have a challenge every year. The last challenge was to make a dos a dos book. I had a lot of fun with Alice in Wonderland and Alice through the Looking Glass. The photos didn't come out so well.
 Carol received a beautiful accordion book filled with calligraphy from Olive Bull. We were so fascinated by it that we spent most of one day figuring out exactly how she had put it together. It took me another day to get it to this stage. This is the prototype and it still needs a little bit of tweaking. Nice though. Olive's book was filled with beautiful calligraphy which is the next step.
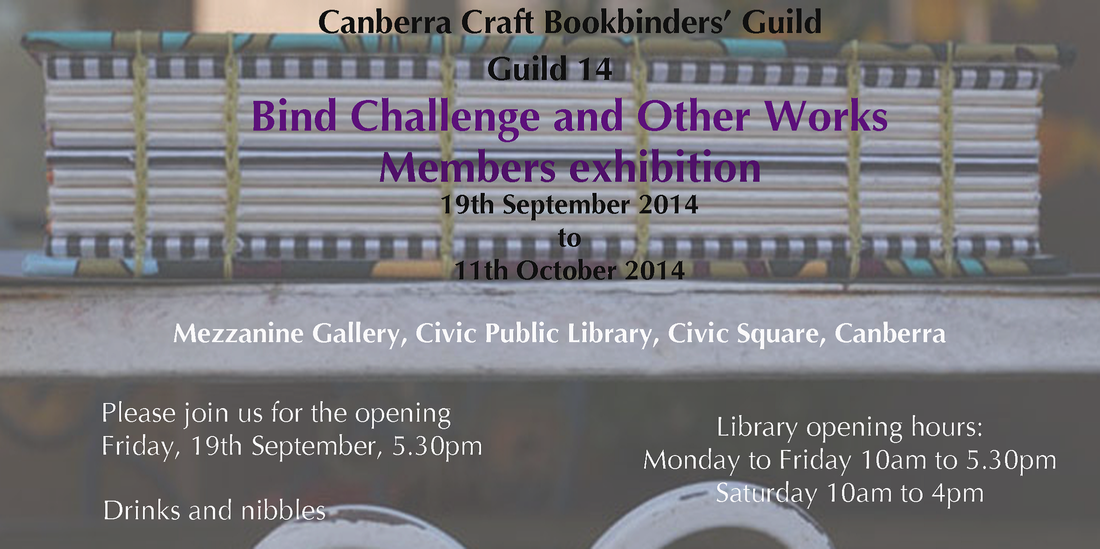
This book by Erin Zamrzla has 28 projects that can be made from ordinary and re purposed materials. The book I choose to make is a simple accordion book which doubles as a bookmark and a place to jot notes as you read. It is absolutely perfect for books with numerous characters like Tolstoy's War and Peace. It is also very handy if you belong to a book club making reporting to the group very easy. I have used eco-prints as a decorative feature. 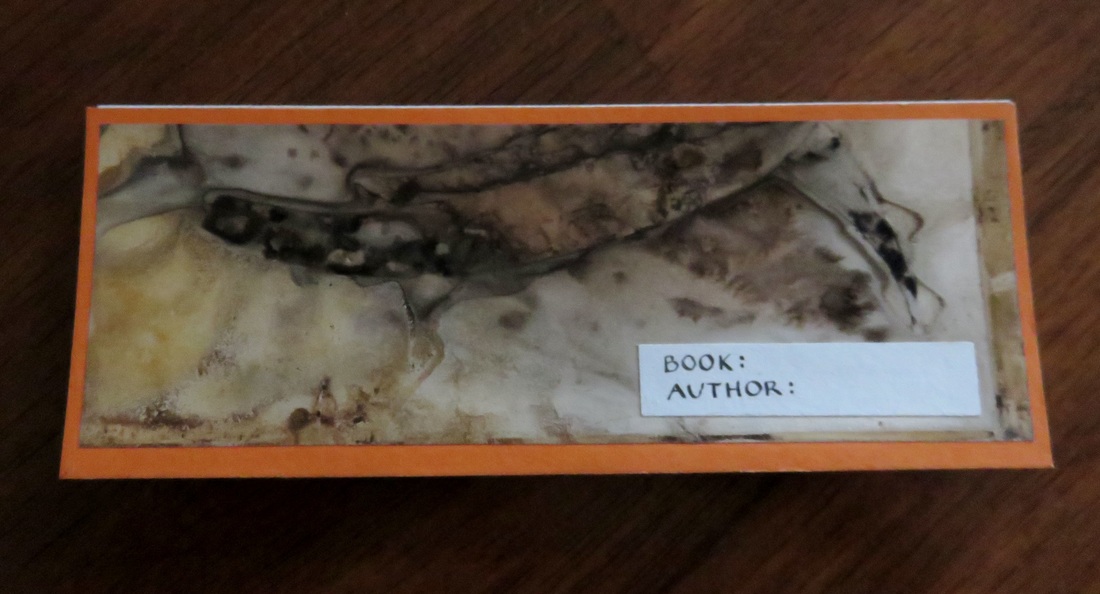 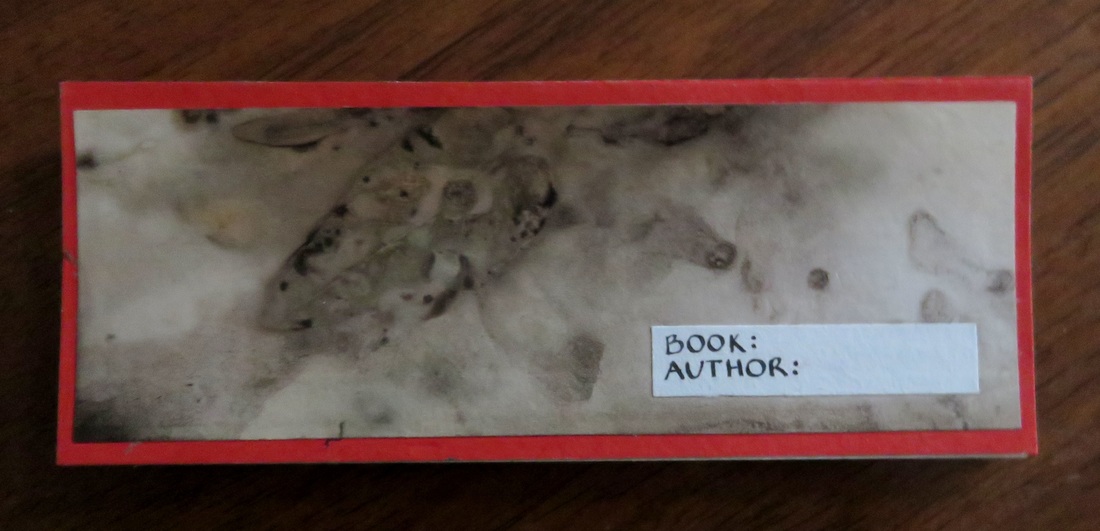 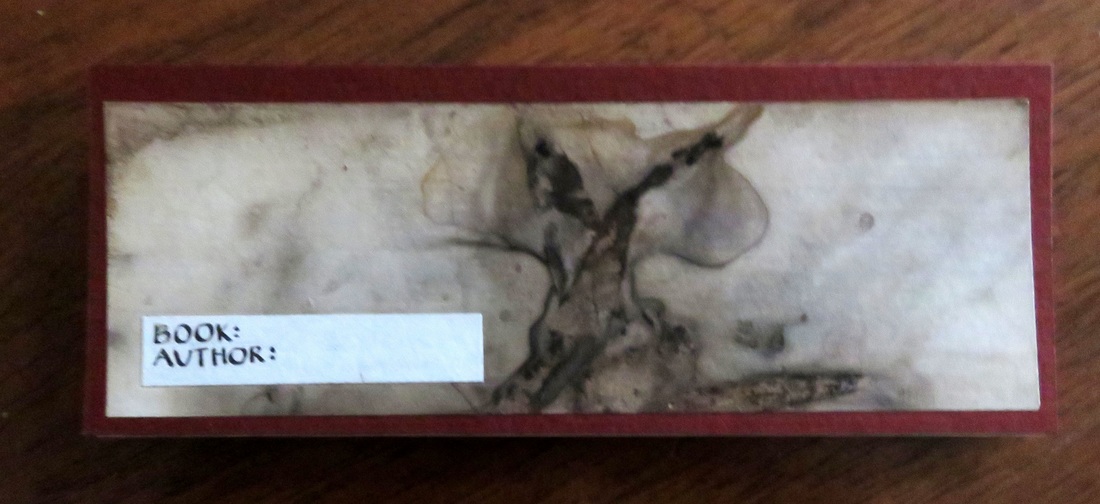 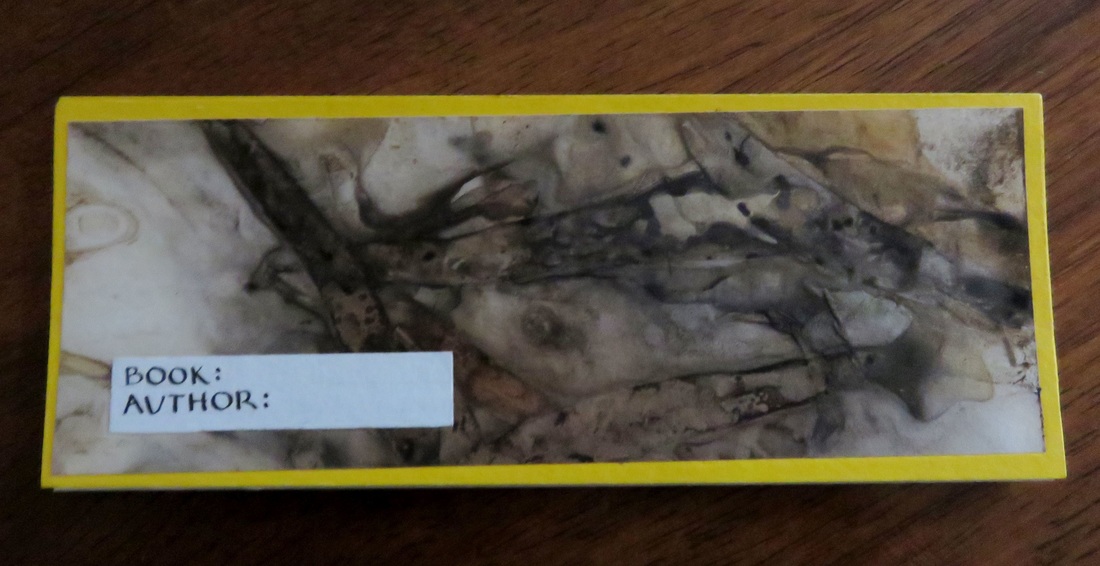 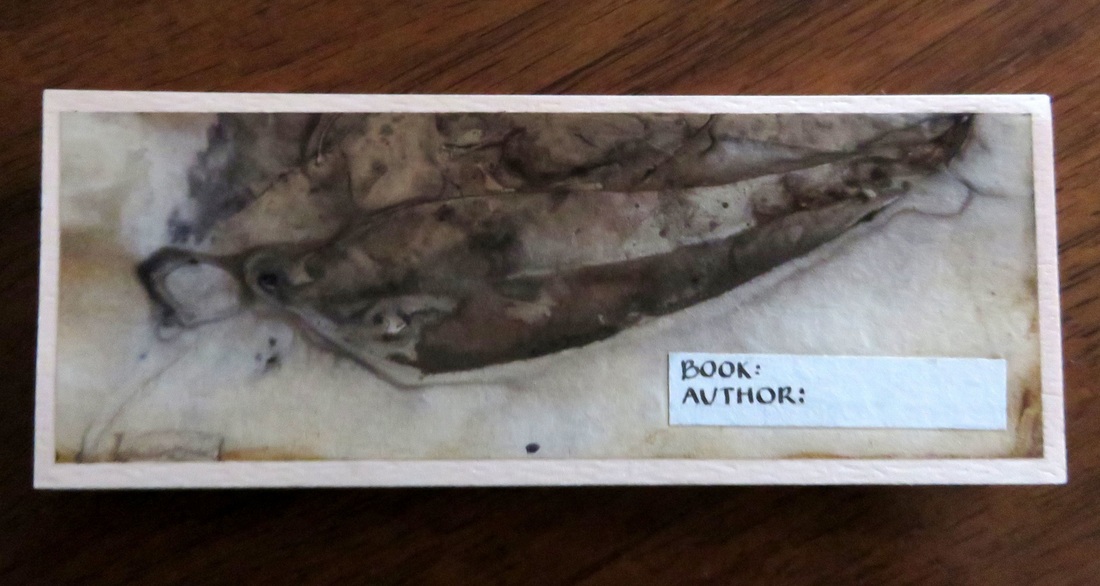 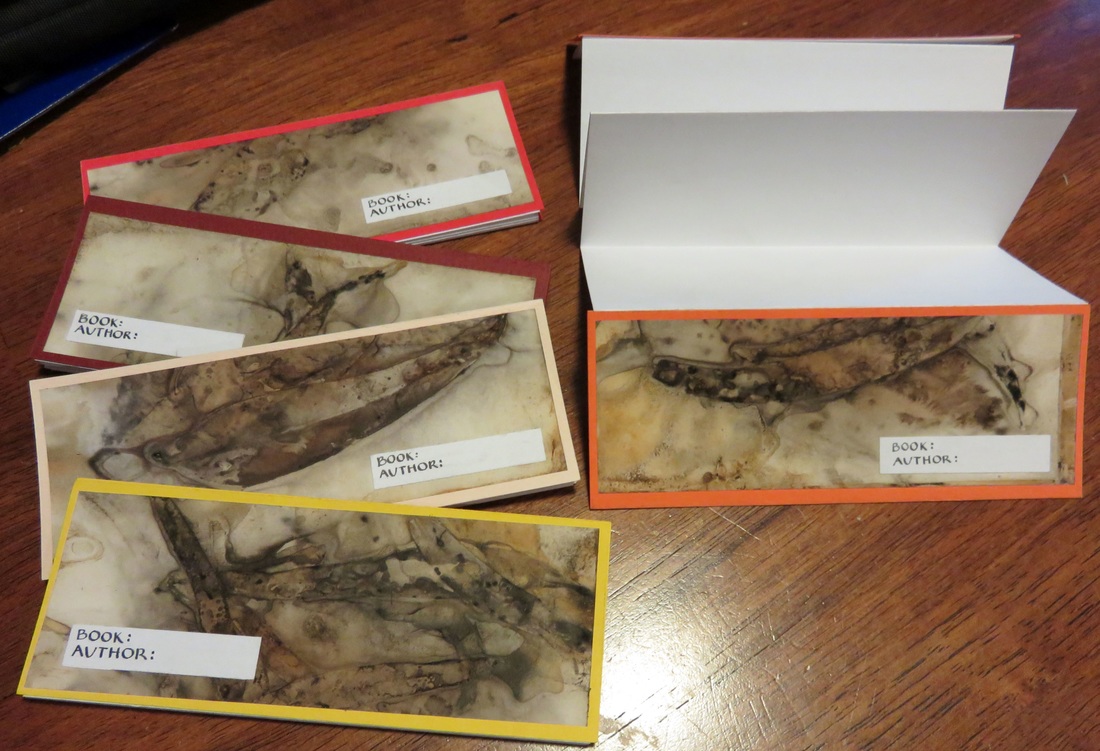 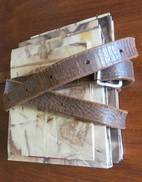 The challenge this year was to create a 'Stack of Books' using five different methods of binding. This was a fun challenge which saw many participants produce more than one of each type of binding. I settled for one of each secured with an old belt reminiscent of days when books where carried with leather straps. All of my books used the eco prints I had printed earlier in the year. I thought that this made them look like more of a set. 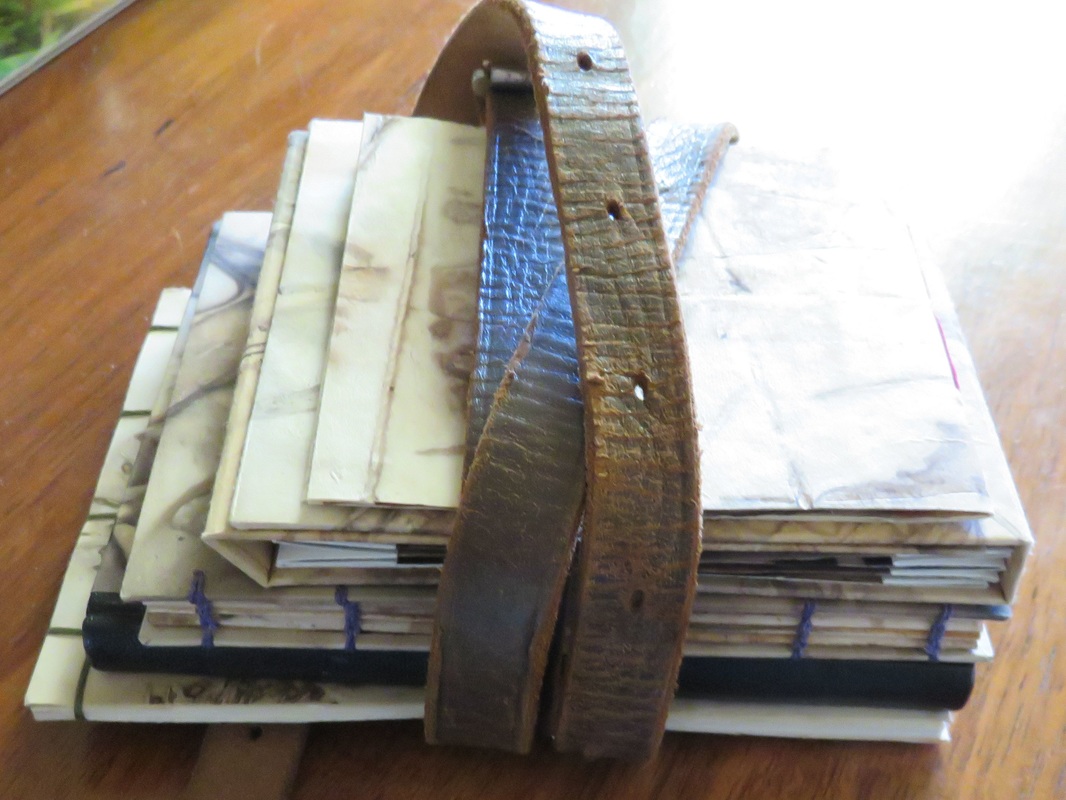 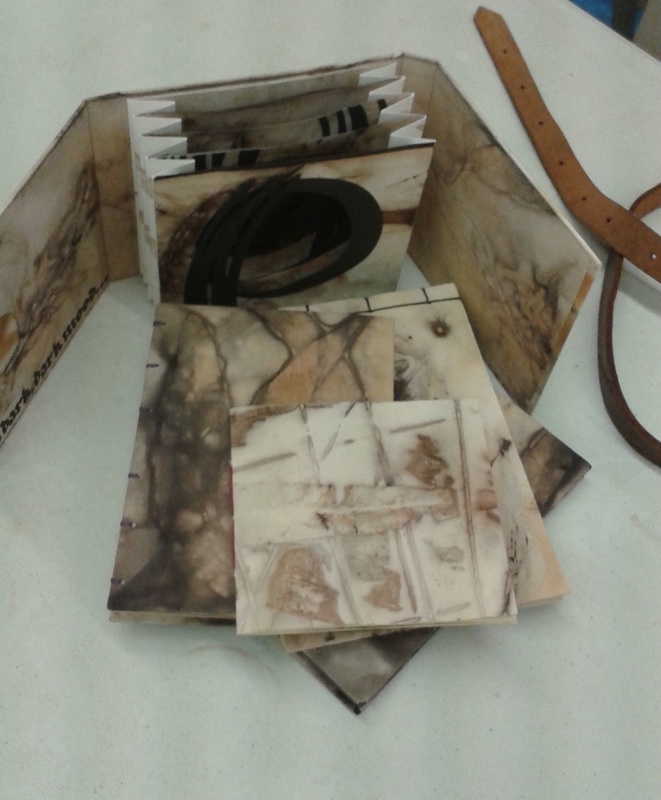 First up was Oriental Stab Binding which I approached in the traditional way. Very satisfying. Next, the pamphlet binding. Mine was certainly very basic compared to others, but did fit the criteria. 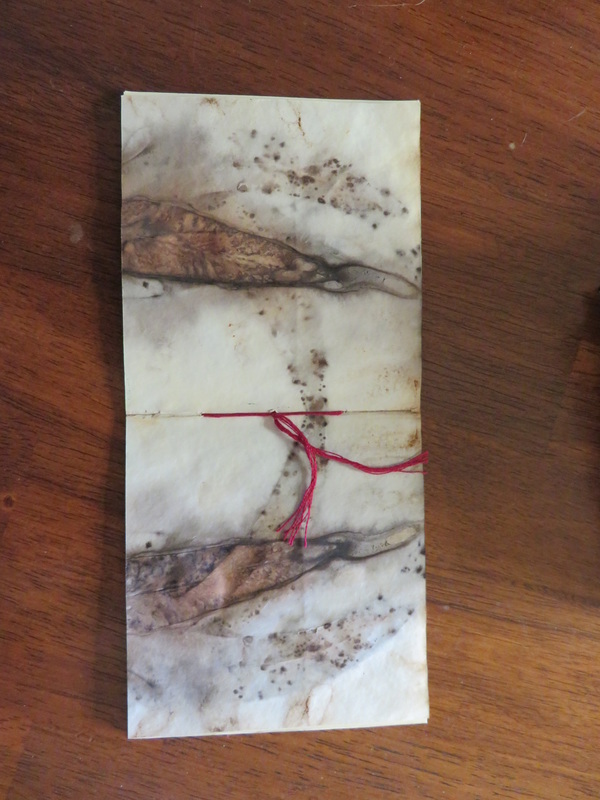 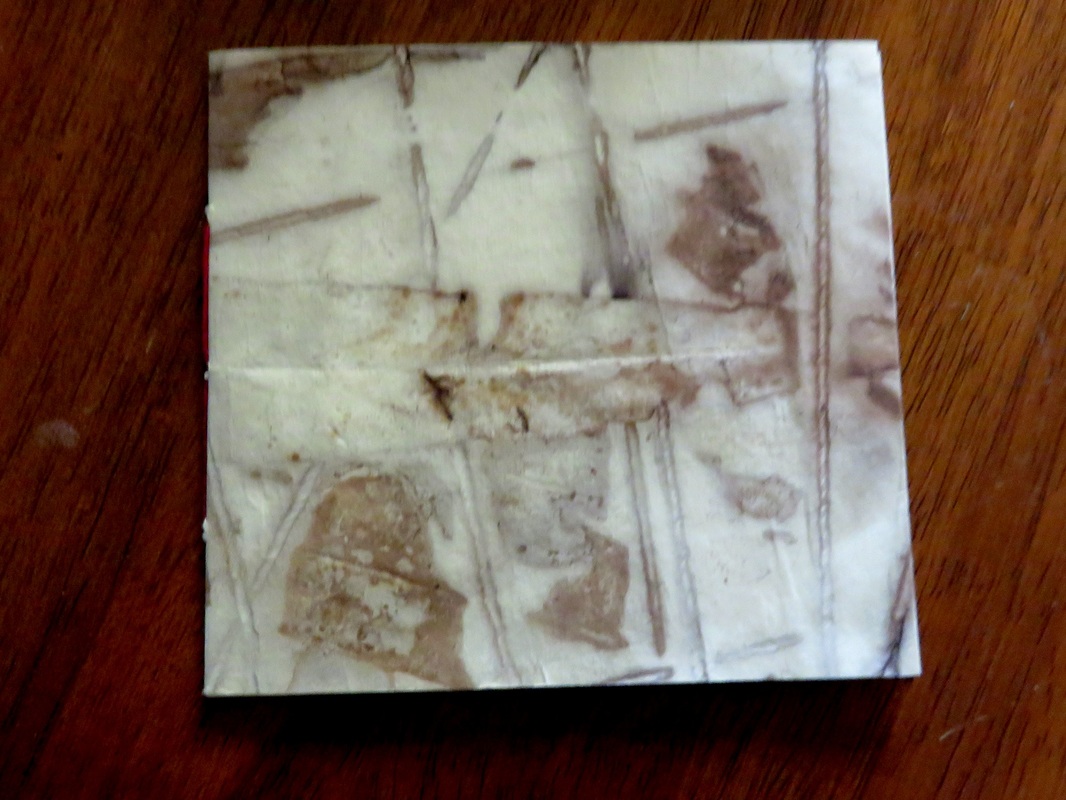 Then came the exposed sewing binding. I rather like sewing coptic bindings so.... 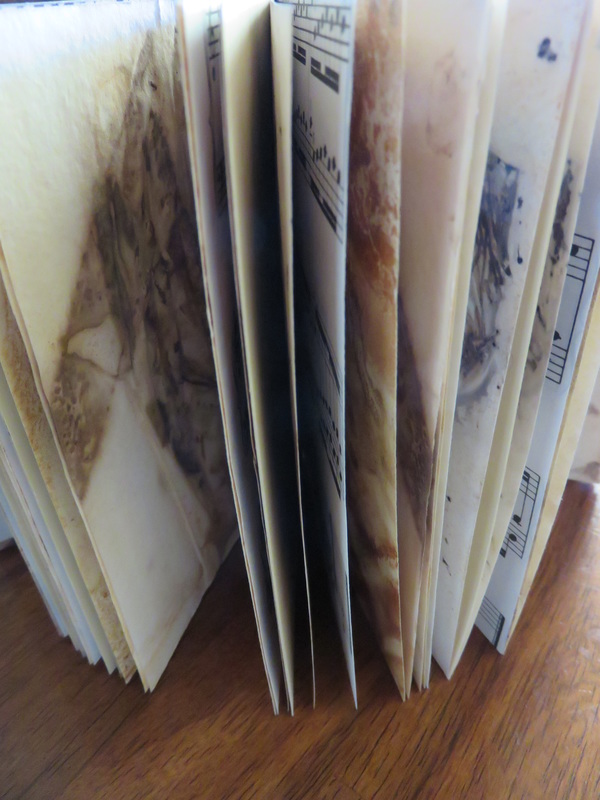 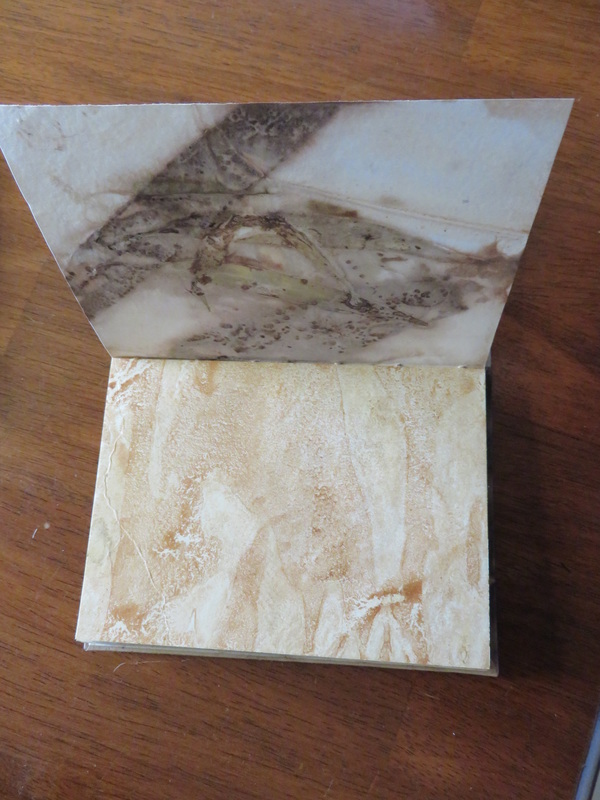 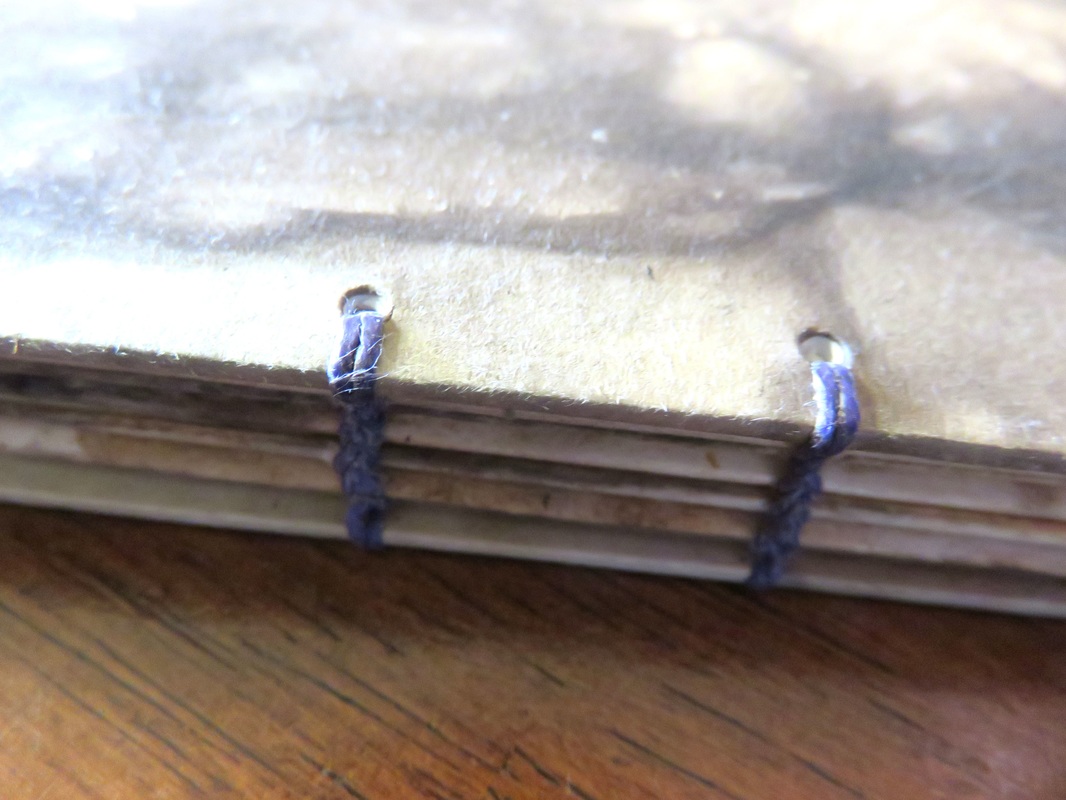 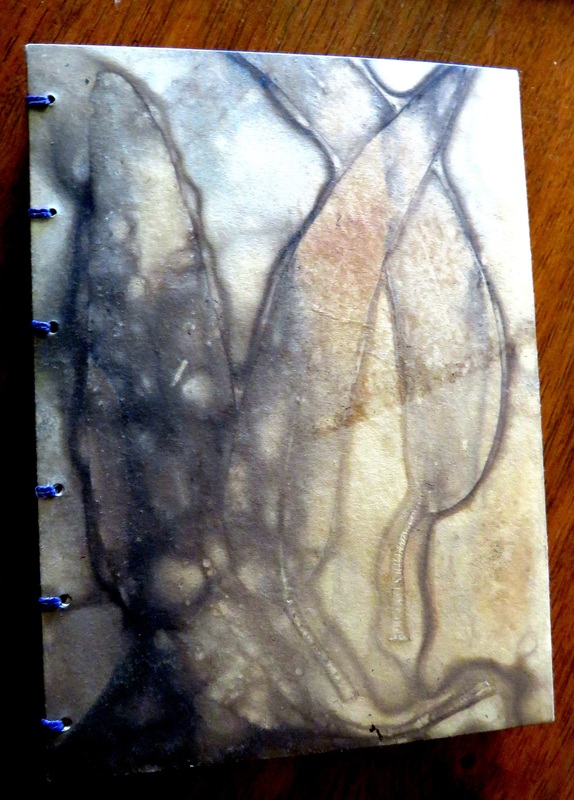 Next the sculptural book. I thought that my tunnel book fit the criteria perfectly. 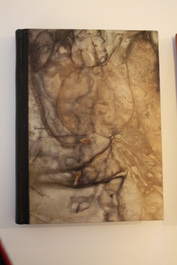 and to finish up, a case binding.
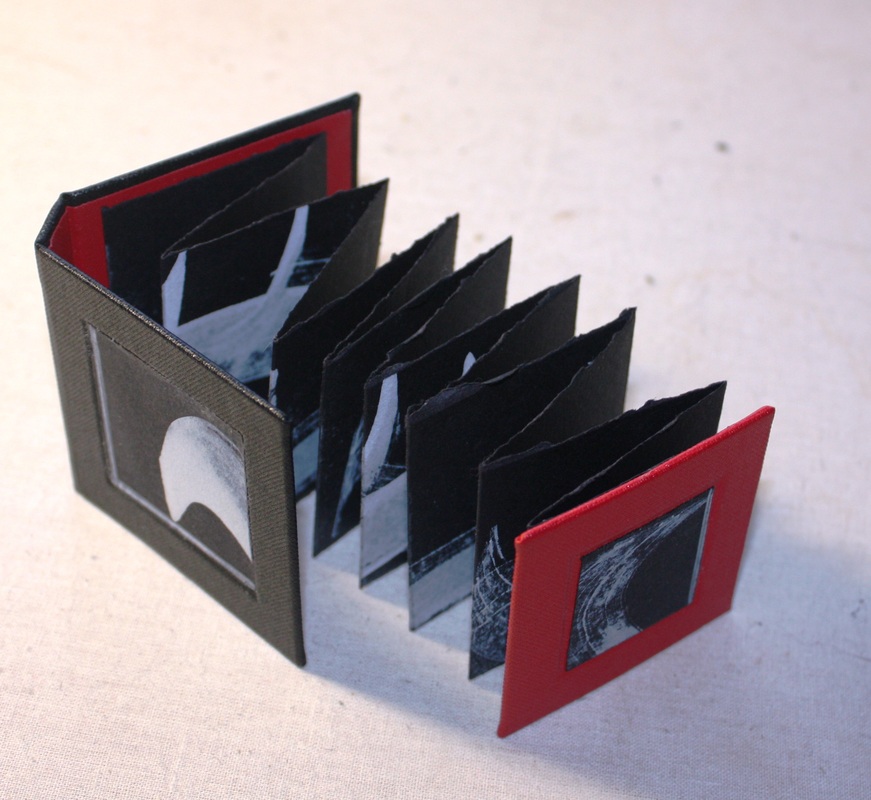
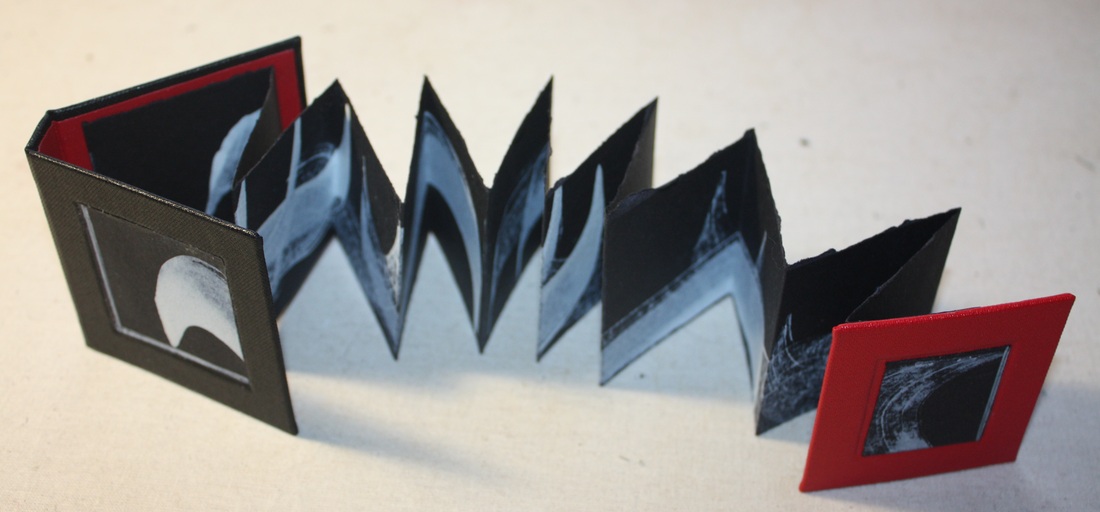
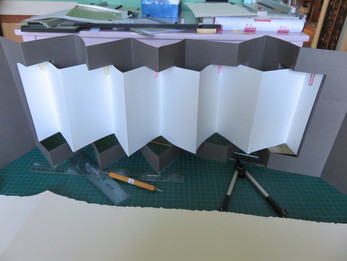
I am running a workshop for the Canberra Calligraphy Society on Tunnel Books. Tunnel books are also called peepshow books. The book is made up of a set of pages bound with two folded accordion strips on each side. The overall effect of a tunnel book is to create the illusion of depth and perspective. The openings in each page allow the viewer to see through the entire book to the back, and the images or calligraphy on each page work together to create a 3-dimensional scene inside. This type of book dates from the mid 18th century and was inspired by theatrical stage sets. Traditionally, these books were often created to commemorate special events or sold as souvenirs of tourist attractions. The term 'tunnel book' derives from the fact that many of these books were made to commemorate the building of the tunnel under the Thames River in London in the mid 19th century (not looking through a tunnel, as I previously thought.) The Tunnel books that we will be making in the workshop are cased into a cover board. The cover board allows the tunnel to be displayed easily as well protecting the folded tunnel. I have made two books for display purposes. 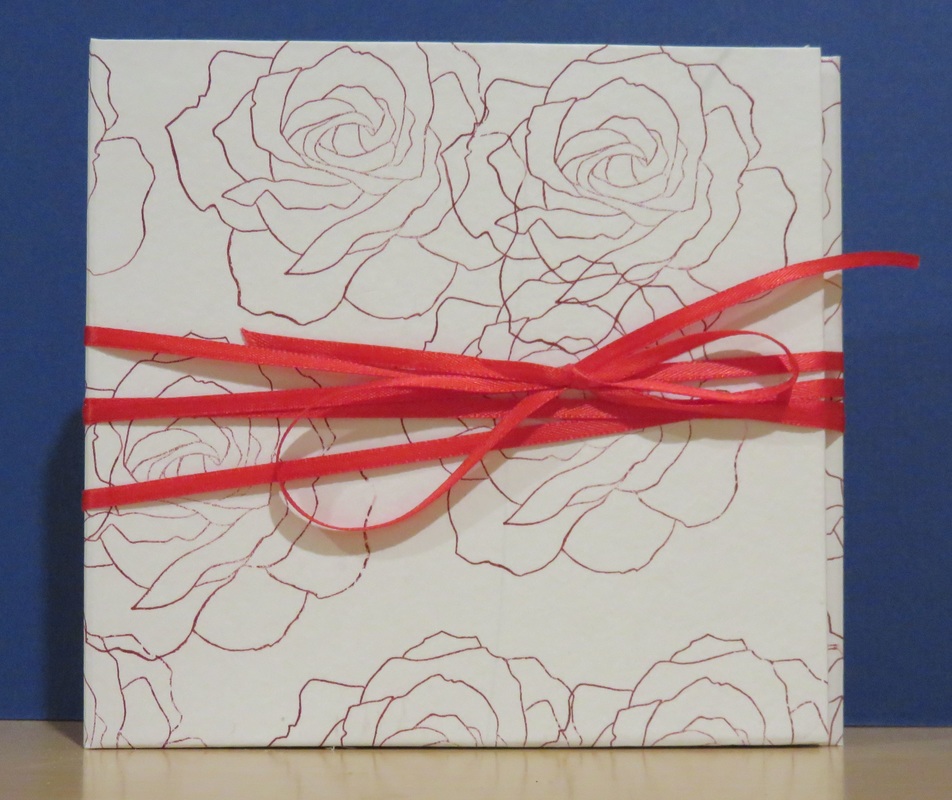 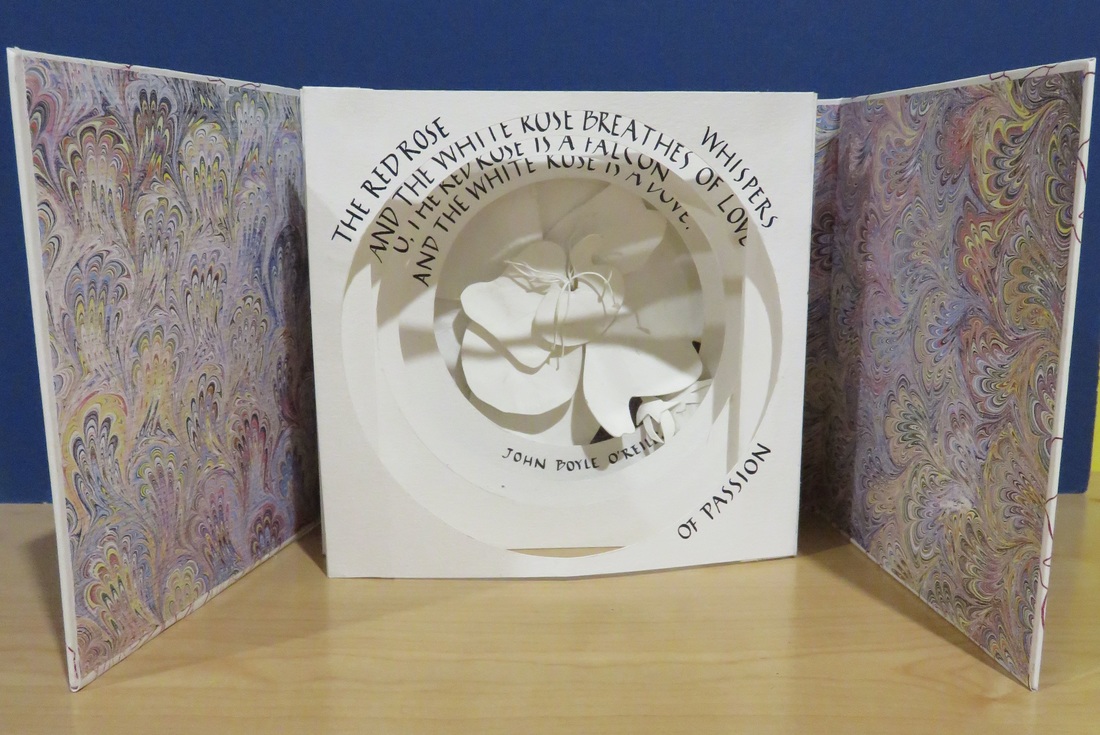 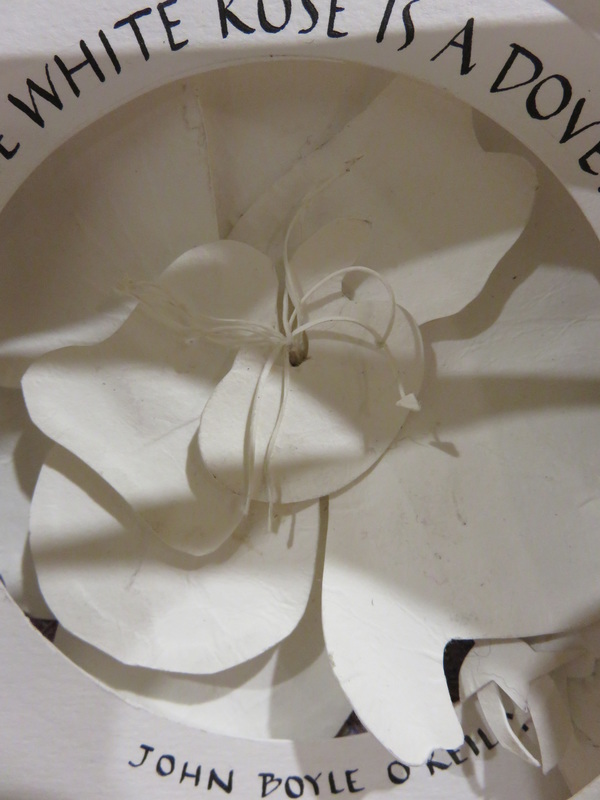 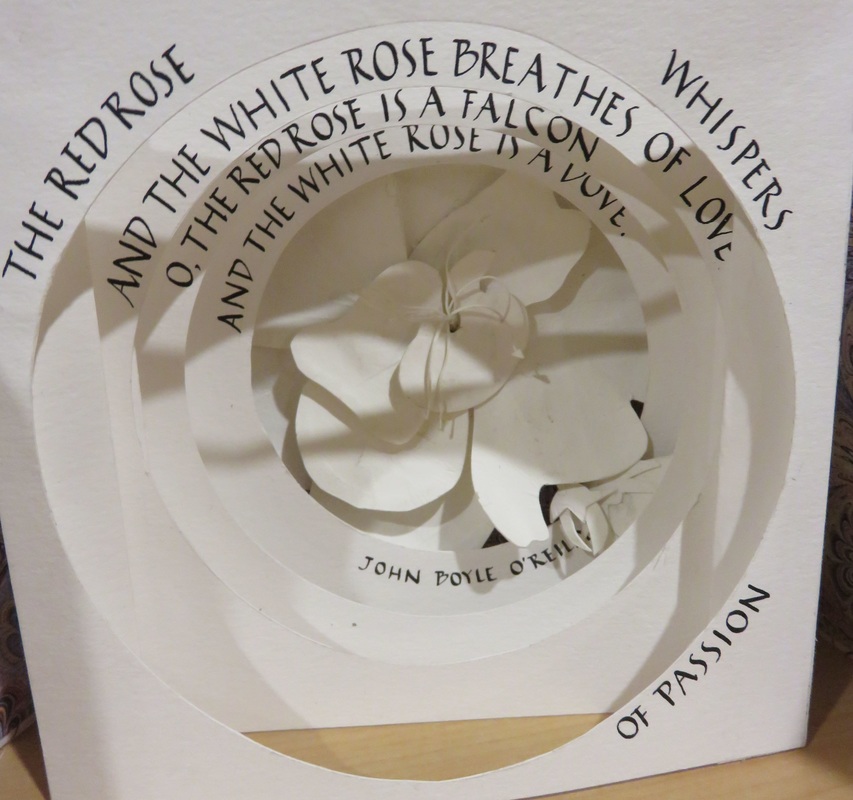 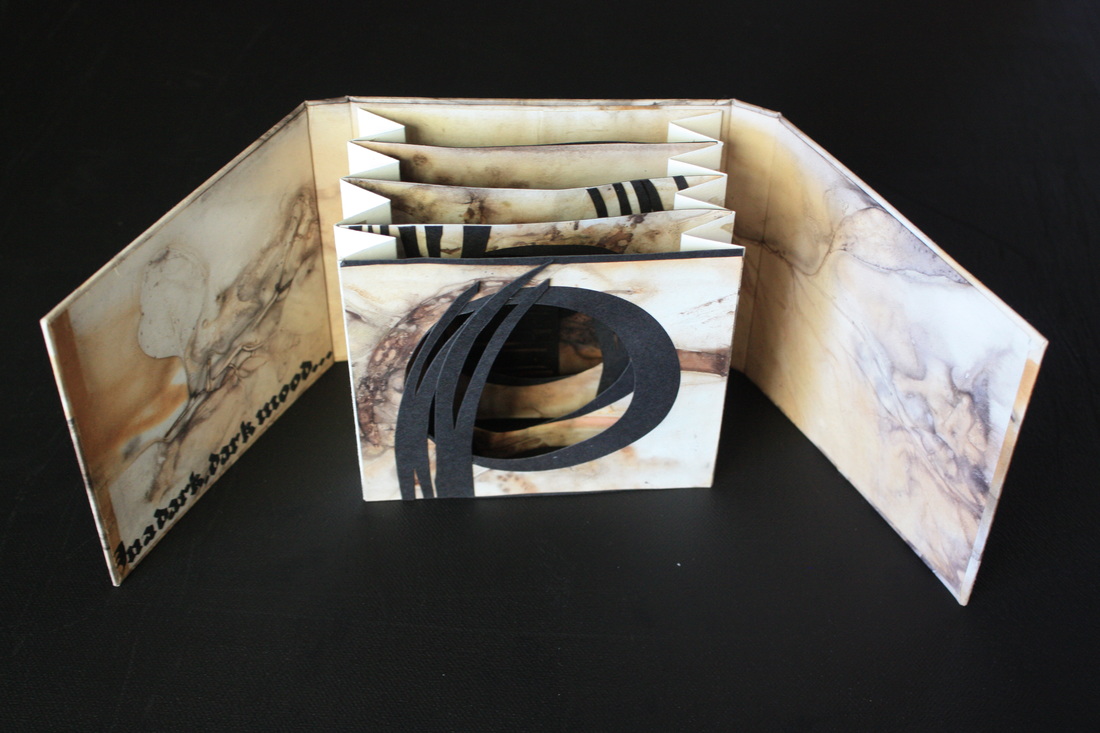 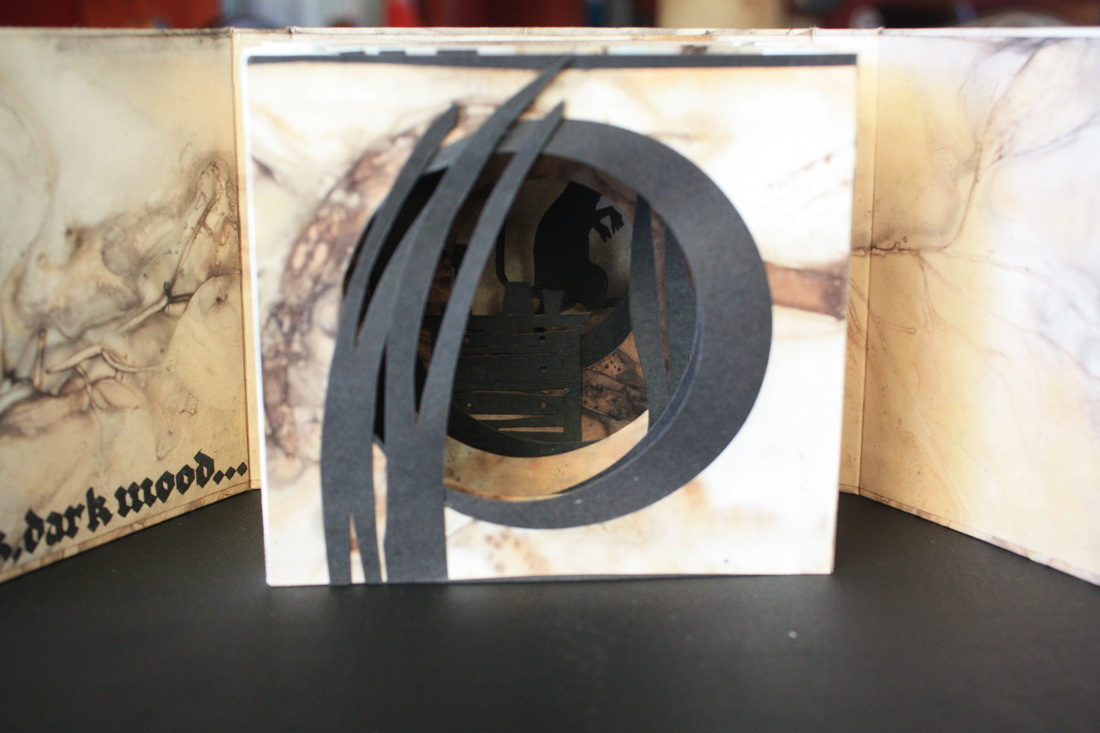 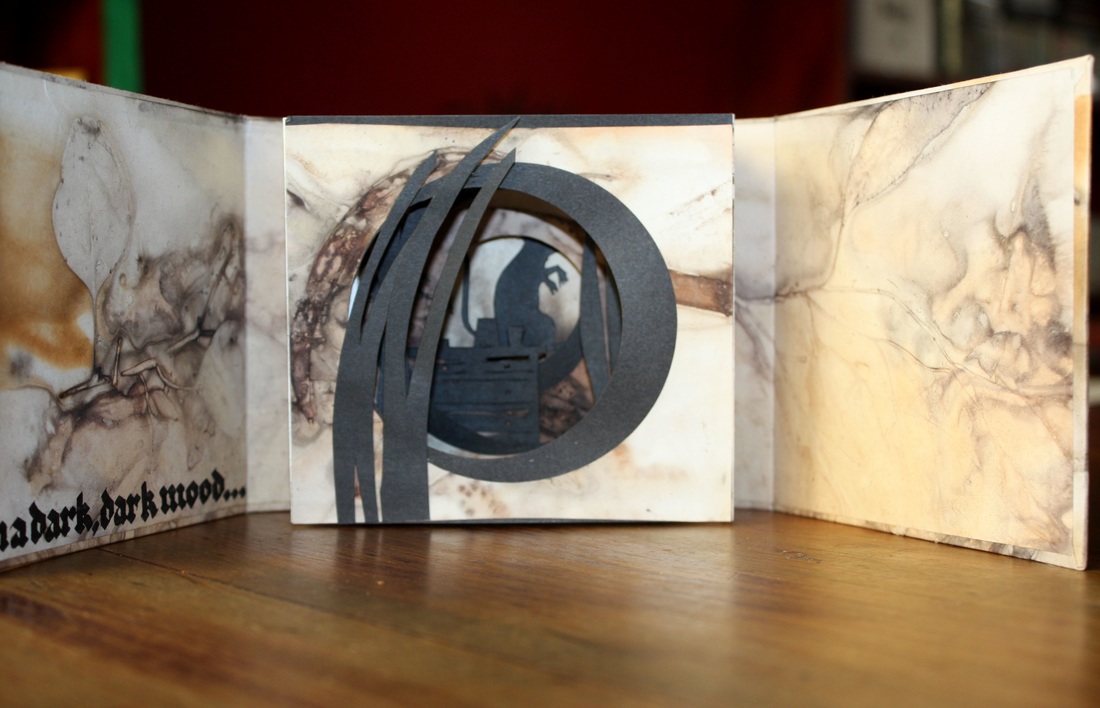 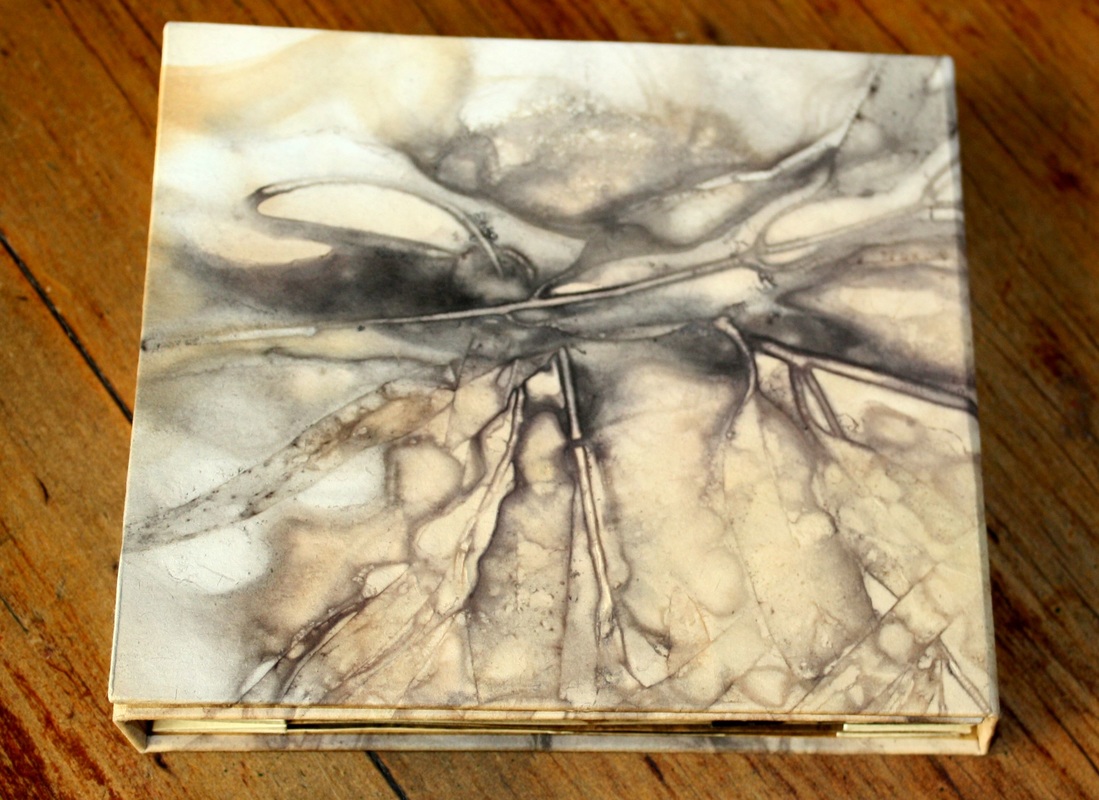
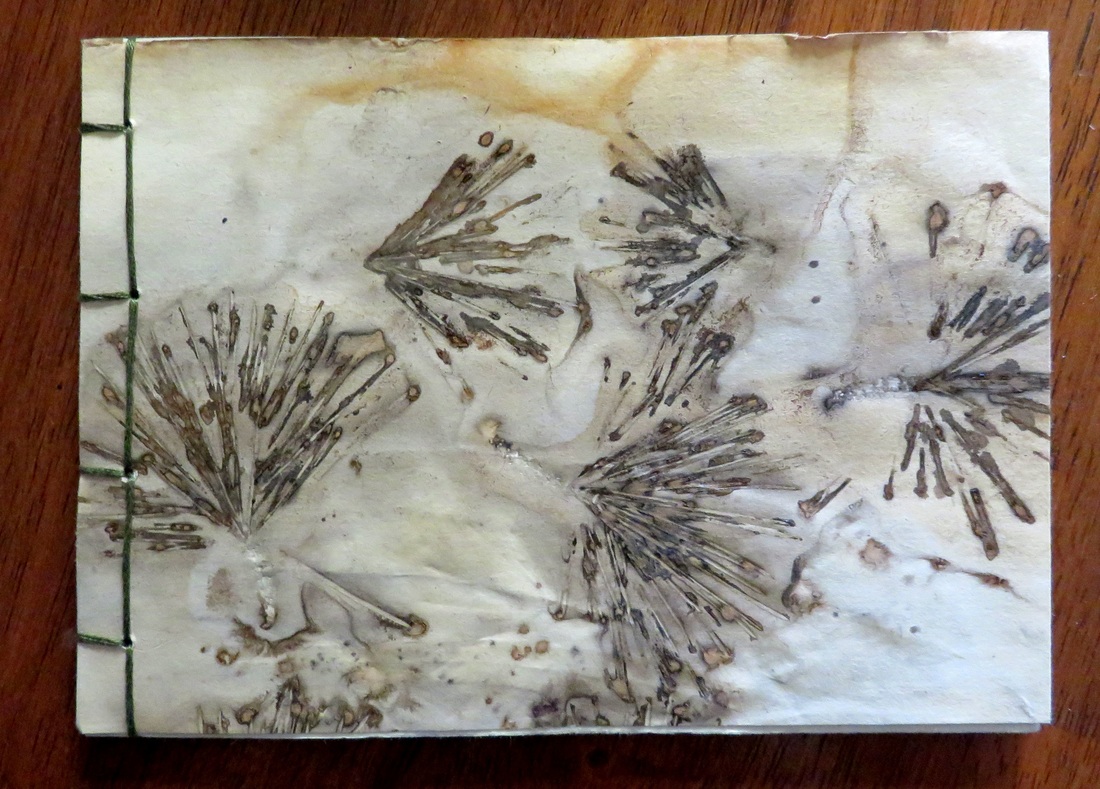
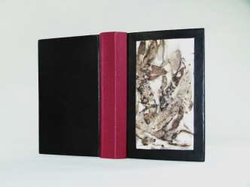 No. 1 Eucalyptus Leaves Dos Rapporté binding Leather binding, eco printed cartridge paper. Eco printed end papers. 210 mm x 155 mm x 30 mm 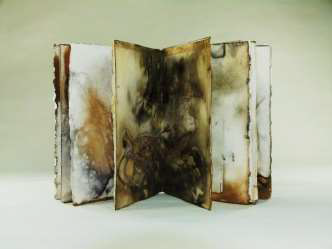 No. 2 Leaf Prints Drum leaf binding Hand printed handmade paper 195 mm x 145 mm x 10 mm 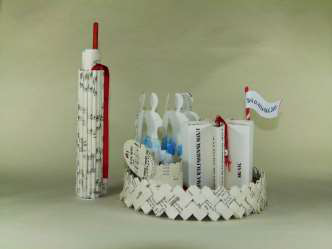 No. 3 Bind Challenge 2013
Artist Book Recycled paper - one star book, two concertinaed books and a scroll Dimensions variable I promised that I would write about how the leaf printing I do is achieved. I'll try to remember the entire process although I have had trouble in the past remembering each step. The process is quite forgiving though, so if a step is missed the results can still be pretty good. First up is the gathering of the leaves. I like to use Australian native leaves such as gum leaves of different varieties, wattle leaves, banskias etc. I only ever gather the leaves that are on the ground as a result of a natural process or those leaves that the cockatoos have so thoughtfully pruned especially for me. 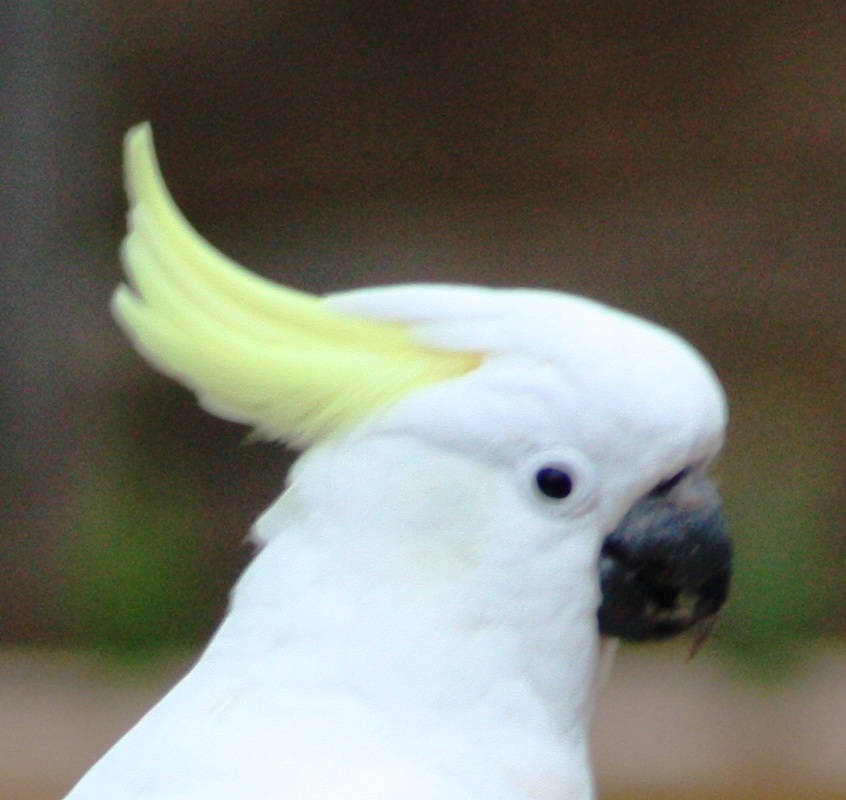
Close up of my personal gardener having a rest.
If I have the time I press the leaves under weights. Although this step is not essential I find that flat leaves are easier to handle. I'm not sure if they print better or not. 
Leaves under weights.
Having gathered the leaves and pressed them the next step is to prepare the paper. I use any paper to hand and have found that as you would expect, different paper reacts in different ways. It is well worth experimenting to find the paper that gives the results you want. It seems that different papers react very differently with different leaves. I fold the paper into concertinas and although this is not absolutely necessary but it probably does aid in keeping the papers together. The next step is to arrange the leaves on the paper in whatever design you feel will make the best print. Then, sandwich the paper with the leaves between two pieces of cardboard and tie together tightly with string. You can make as many bundles as your steamer can allow or until you run out of leaves or paper or whatever comes first. 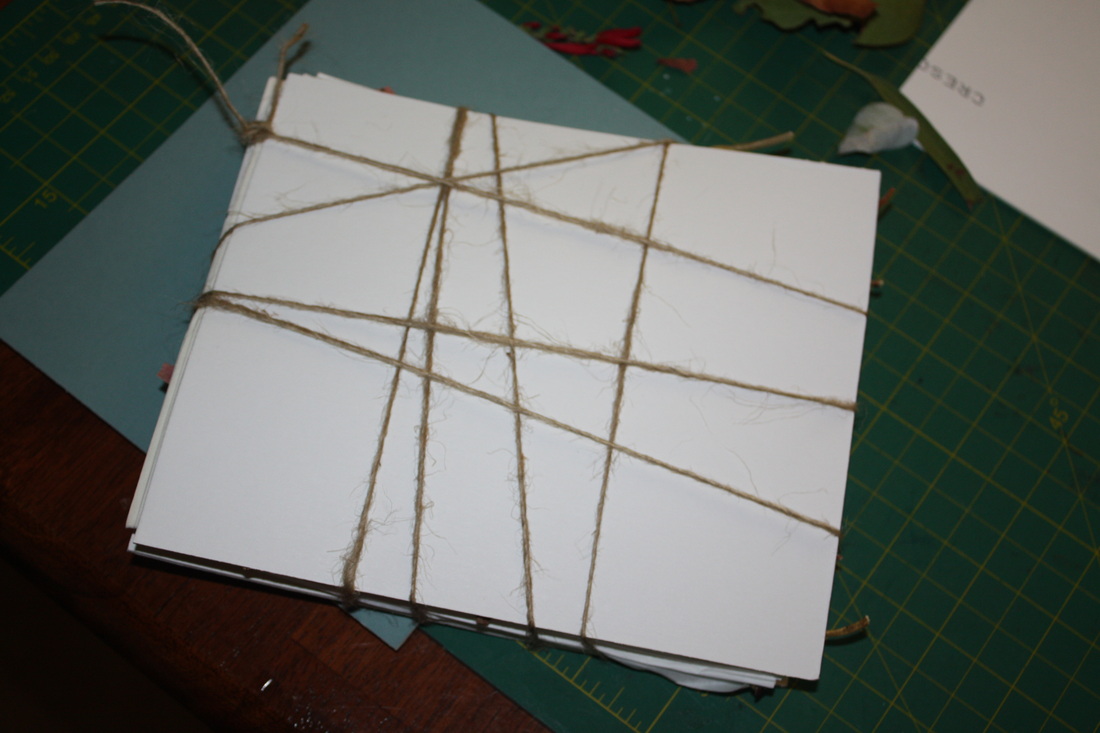
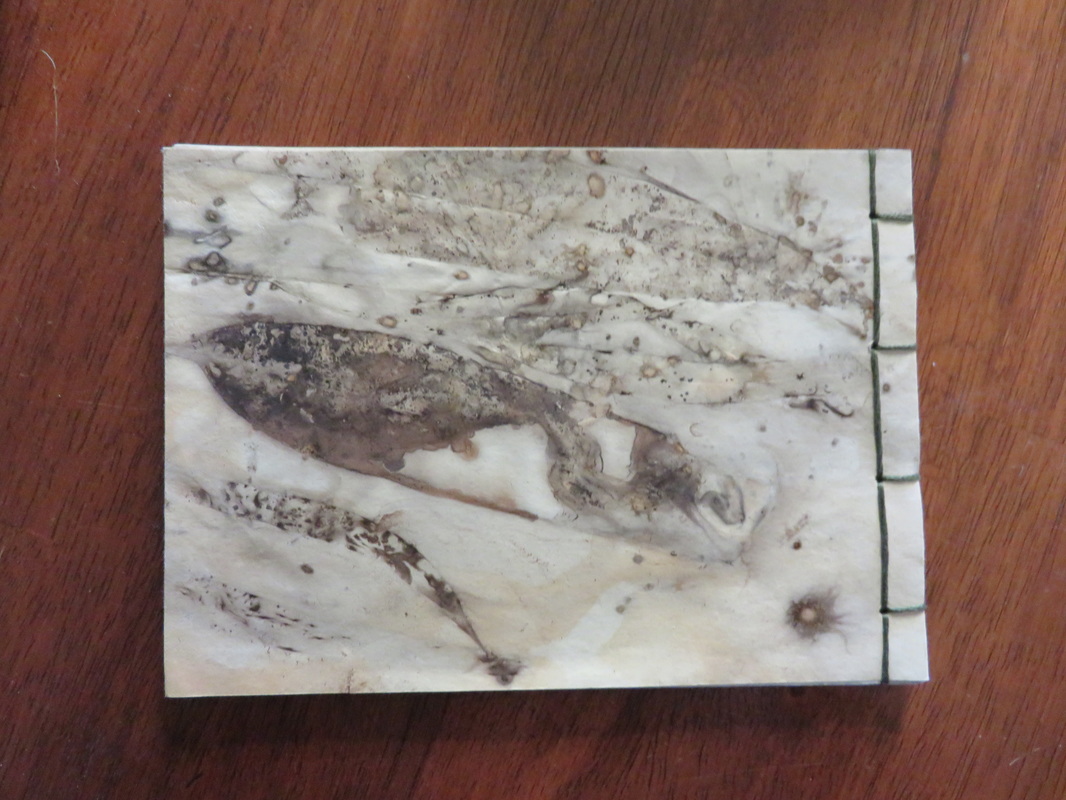
The next step in the process is to soak this bundle in a solution of vinegar and water. The solution I use is 2 cups of water to 2 tablespoons of vinegar. The bundles should be soaked for at least one hour, more if possible. I forgot to soak the bundles once and the middle of pages didn't get steamed. See the photo below. It gave a rather lovely skeleton photo but not quite what I was wanting. 
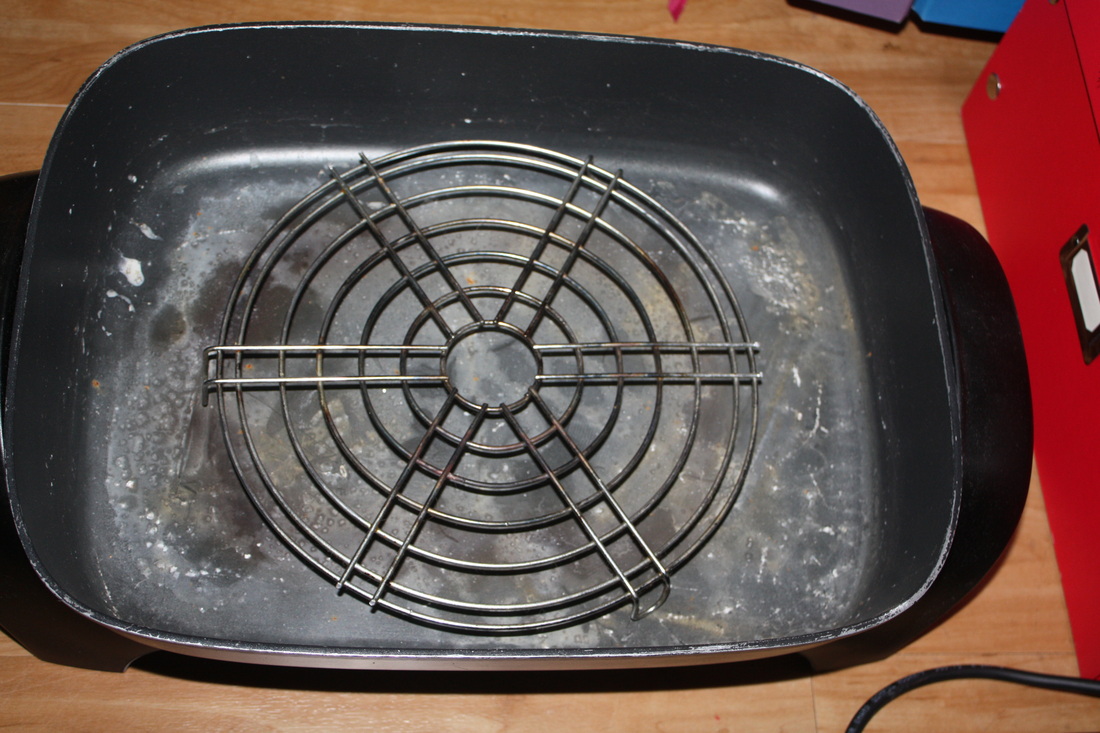
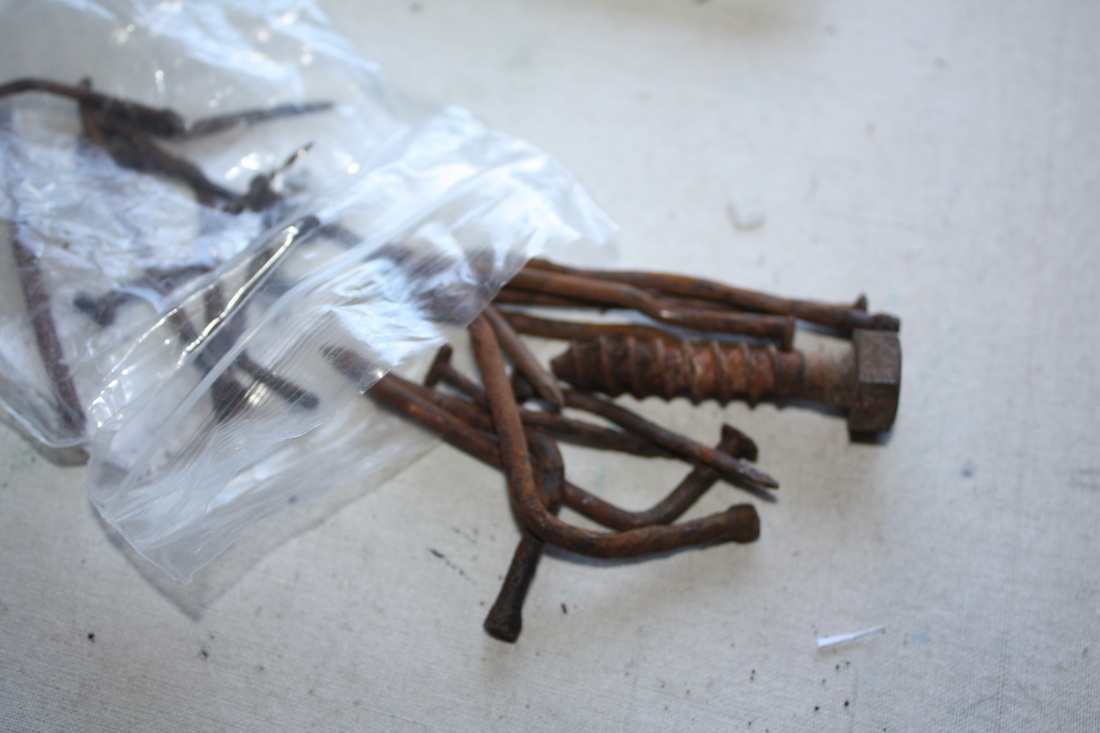
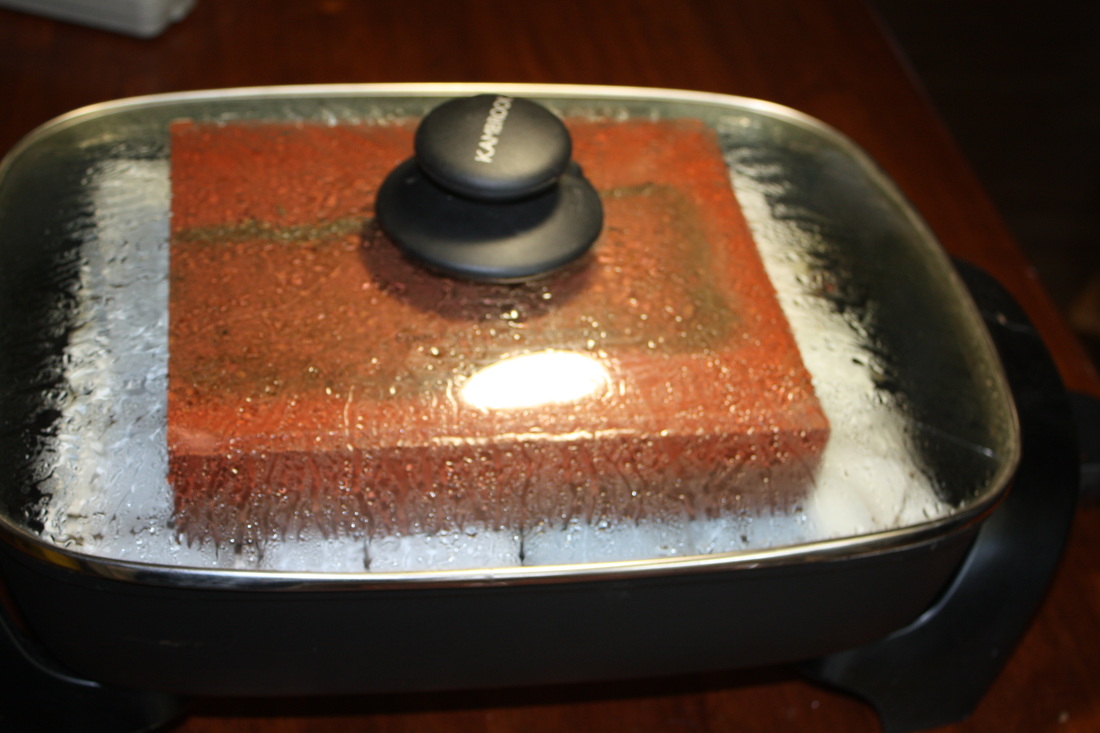
After soaking the papers place the the bundle in a steamer (I use an electric fry pan) with bits of rusted metal such as nails etc, a solution of 2 cups of water to 2 tablespoons of vinegar, weighed down by a heavy brick and brought to the boil. To steam, the papers have to sit above the water. This can be achieved by sitting the bundles on a grid or small glass jars. It is of course very important to keep all this process separate to any cooking and not to use any utensils or containers for cooking afterward. It is then left to steam for a couple of hours checking every so often to ensure that the water does not evaporate completely. Then, it is time to open the bundle. After removing the plant material and composting the leaves, the beautiful papers are revealed. I have read that some eco printers wait for 24 hours before they have a look at their prints. NOT me! I barely wait 24 seconds!
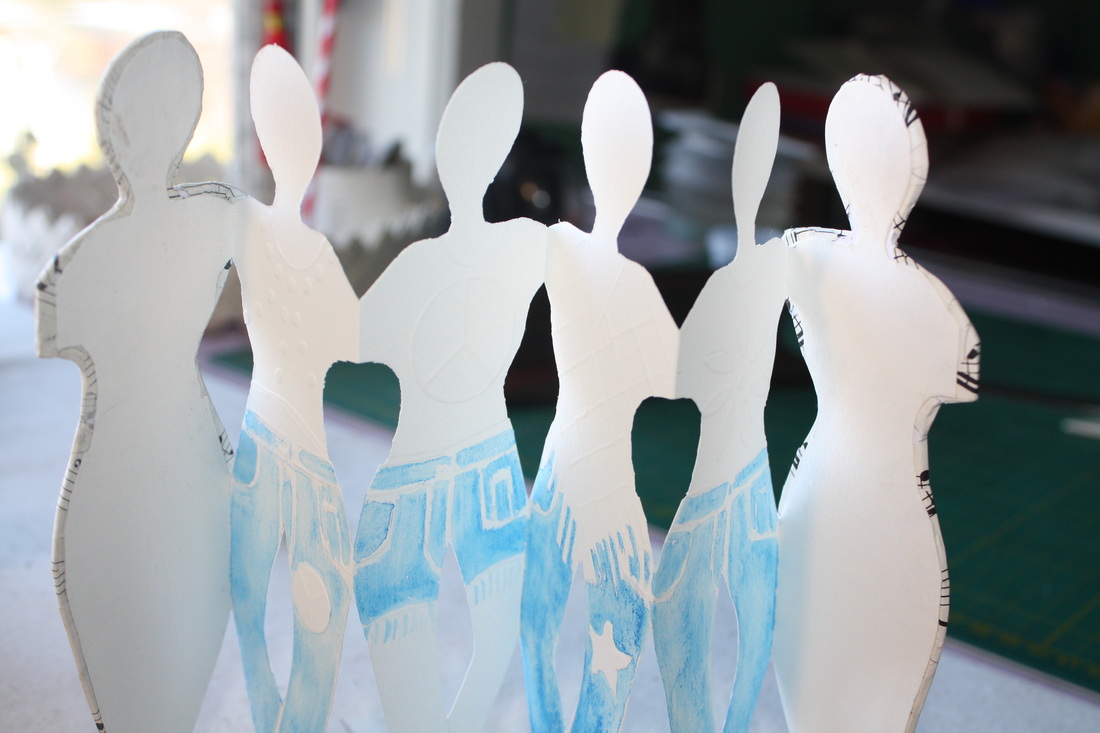
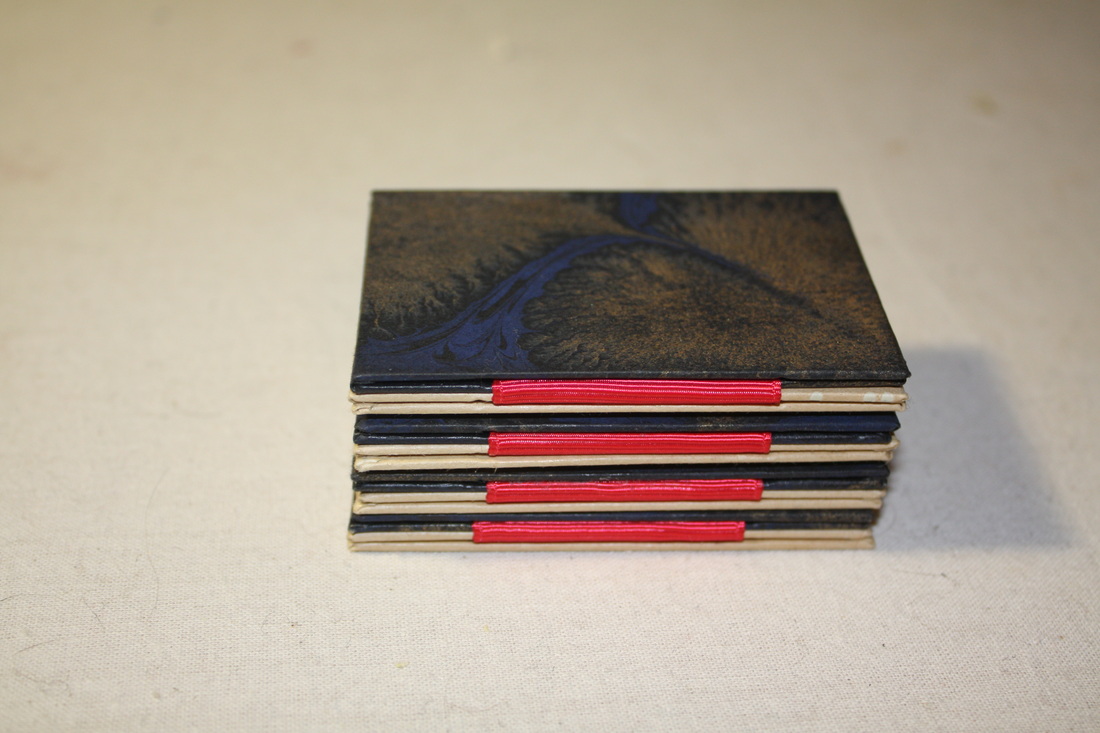
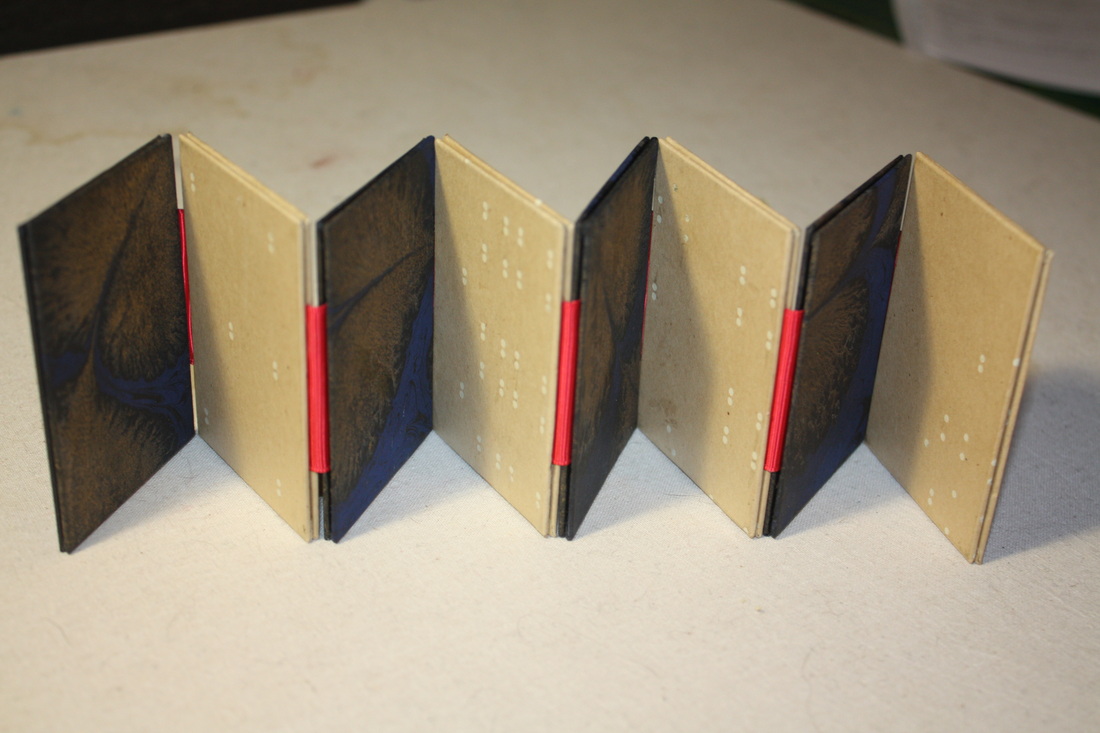
Now all you have to do is experiement with different methods, different solutions and different leaves. Many thanks to Bev for introducing me to this exciting method of printing. Bev has recently had an article published in the June 2013 edition of Raised Bands, the newsletter of the Canberra Craft Bookbinders' Guild. The next part of the Canberra Bookbinders' Guild Binding Challenge was to depict (by making a book/object for the second of the four containers) of what you were wearing when you listened to the music chosen in Part Two. ' Good ' is still the word to focus on. I choose my blue jeans that I wore all the time in that time period. Jeans cut down to shorts after a growth spurt, embroidered material added to jeans at the hems for the same reasons, jeans embroidered with peace symbols - loved my jeans. I was reading through an old edition of Bound and Lettered and came across an article that resonated very clearly to me. Bound and Lettered is a great magazine. Nothing better than getting a new edition and having the luxury of curling up in a chair. The article is by Sandy Wagner. She is lamenting about the beautiful papers that she has created that are very carefully stored away, brought out every so often, sorted and then stored again. She goes on to write about how she finally liberates the paper and uses it in different projects. This is exactly what I do with my own paper and I was inspired by her article and her beautiful creations to at least use a little of my stash. I got so carried away with the project that I didn't take any photos on the progress. I made a miniature book so I could use the scraps of book cloth that I have collected and the concertina page was made from a small slice of calligraphy made in Massimo's workshop. It was lovely to remember Massimo as I worked. He has to be one of the most delightful people I have met and is so generous with his time and knowledge. And then! yesterday I spent a lovely afternoon with Bev and Vicki learning how to make slip cases to protect my books. This was perfect timing for this little book. Once the math is out of the way the slip cases are easy to construct and look lovely. Hmmm... must think of a way to decorated them. 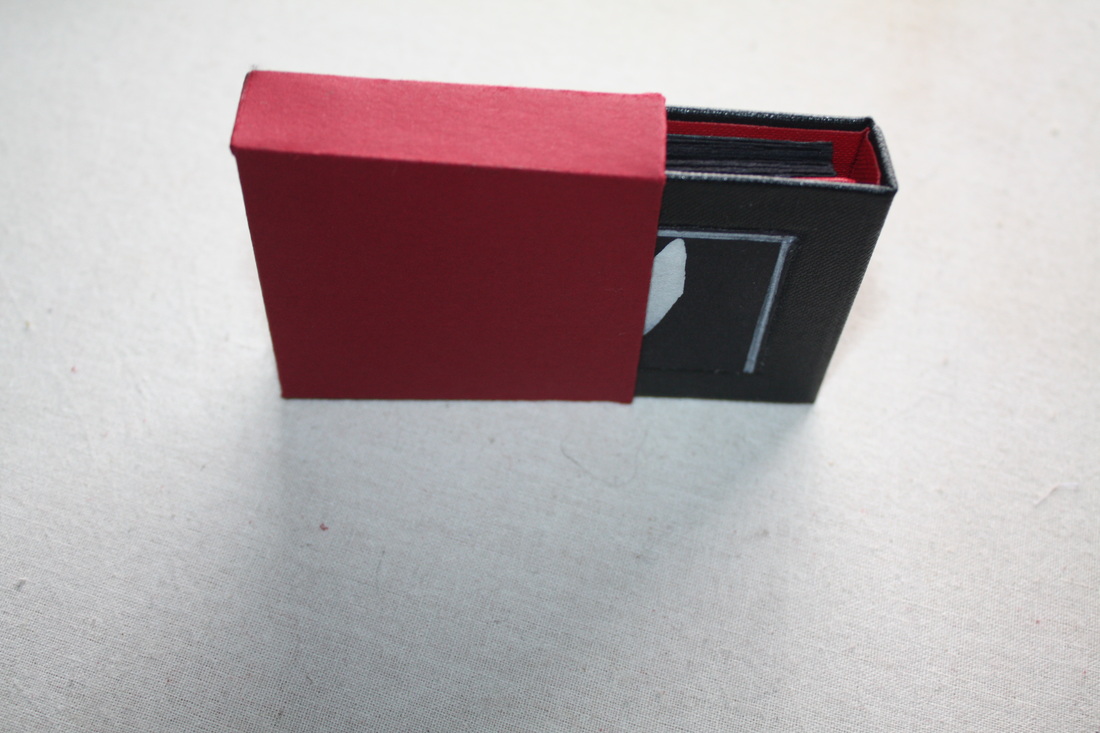 I have just finished the concertina binding that I started earlier using Grosgrain ribbon. It certainly works beautifully. I chose red ribbon to compliment my marbled paper. This type of binding is quite time consuming but it turns out well in the end. I'm not sure if I followed the correct procedures exactly but I am pleased with the result and will use the technique again. I should quickly do another one to consolidate how it is done in my mind. |